Good morning friends. I am pleased that you stopped by to visit my blog. Today is Try-It Tuesday, orginally thought up by Jo over at
Jo's Country Junction. On Tuesday we try out things we would like to "try" . If you have come here before then you know I always ask you to go check out Jo's site and see what her readers are "trying" and of course see what she has made. She has made some wonderful quilts! I do not know how she gets so much done, I wish I was that fast!
Today I started out with my African Violet that I bought at the grocery store about 5 months ago, it was a house warming gift to myself. I love the color and when I first bought it it was a healthy plant, not huge and had like 2 flowers. Not the same plant today!
 |
| The Violet is in a west facing window and has really taken off. I also have a Hoya in this window that has grown like a weed as well. This plant was small but hea;lthy when I bought it, 2 flowers and 8-10 leaves. Not any more! |
 |
| I really like this color. I have not seen it on any other African Violet, it was the only one at the store. All the rest were purple and pink. |
 |
| My first thing to do was to get the flat that I used before. These leaves that you see were harvested off a African Violet plant at my job, I have no idea what color the flower will be. I started 4 from leaves and three are still alive and thriving. |
 |
| First thing I did was put water in there so that the soil can have time to really let it sink in. I will use these 6 starter holes on this side, and the 6 on the other side as well. I will transplant the 3 that are already started into their own cups. |
 |
| First I used a paring knife and cut a healthy leaf off the main plant. I used different leaves as I am not sure if the healthy new thick leaves will create a new plant better than a leave that is older and further from the plants core. This is Try-It Tuesday so I figured I will take the time and start as many as I can from various leaves and see what I get. After cutting the leaf I then dipped it in water.... |
 |
| Then in root starter- I used Take Root Rooting Hormone by Shultz, I just bought it at Walmart. |
 |
| Not a good picture, but I wanted you to see it is clumped on the end, just shack it off alittle. |
 |
| Then dig a little hole and pop it in. I like to keep the leaf up alittle so it is not laying on the dirt. Violets seem to be picky about their leaves. |
 |
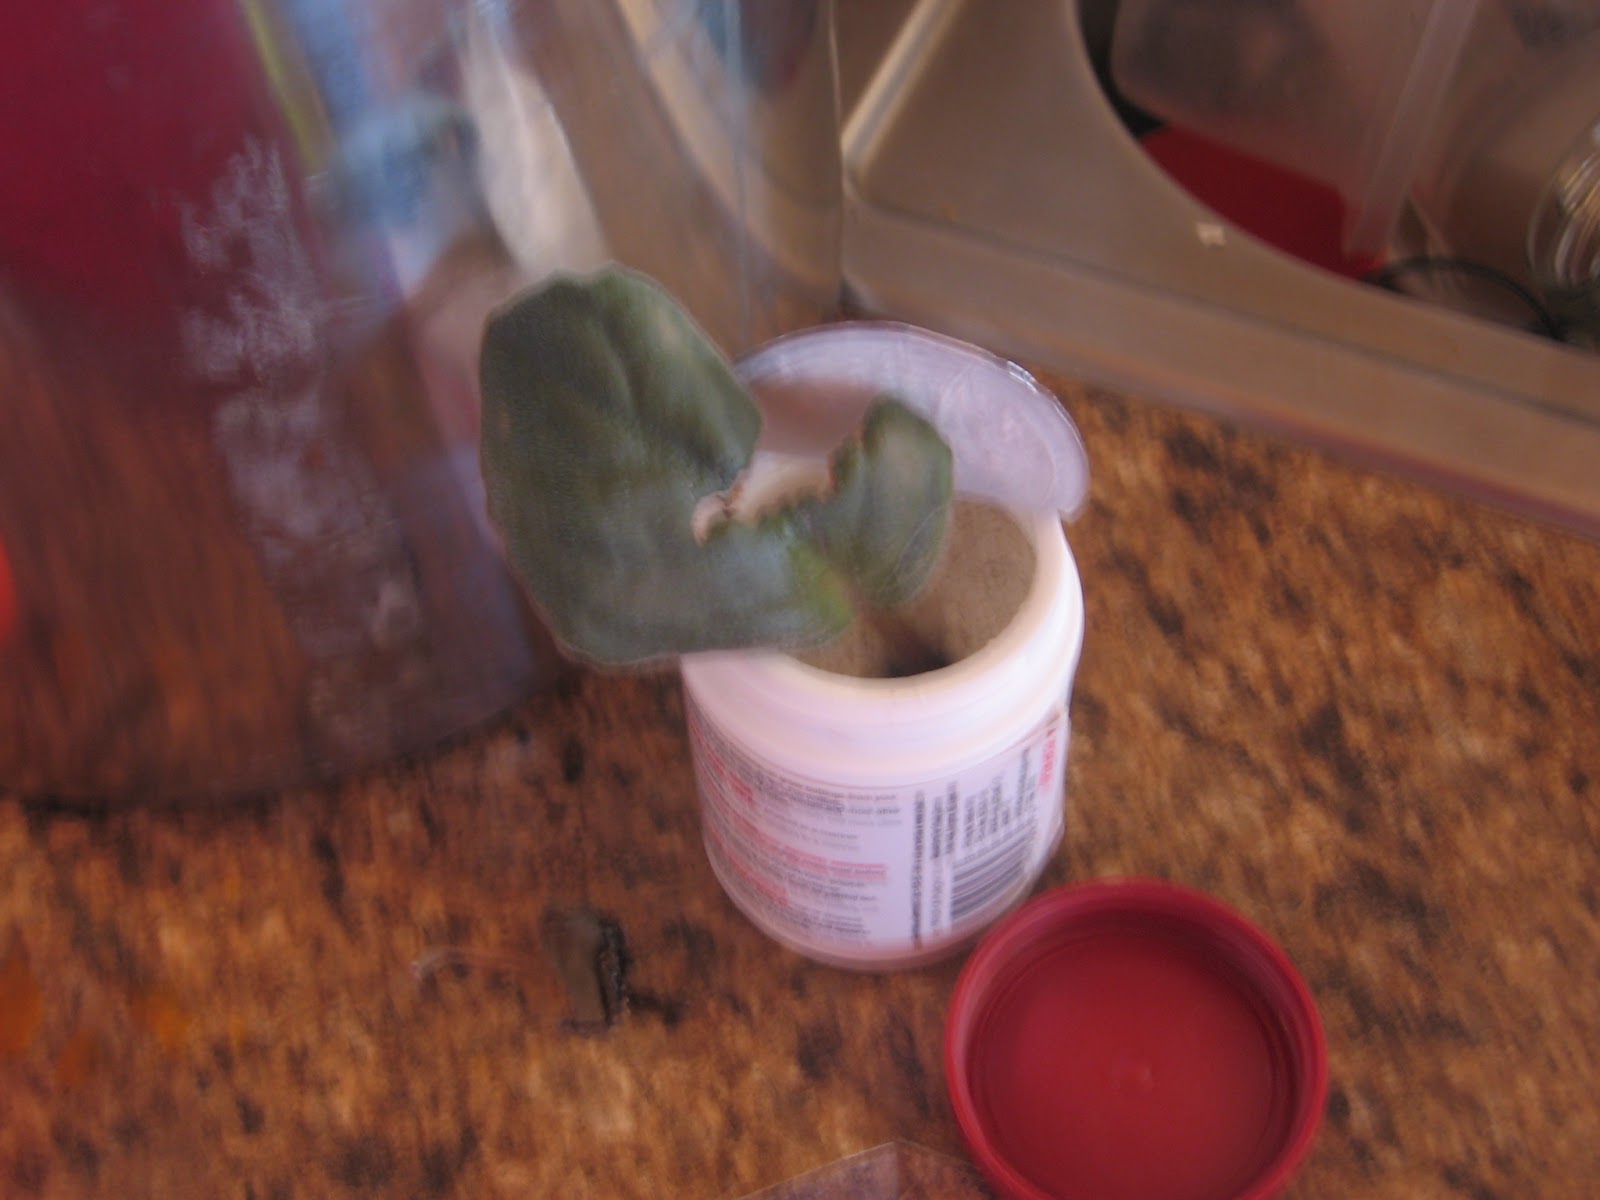
| This is the seed starter that I used in the yogurt cups. |
 |
| The leaves were dug out with a spoon and put in their yogurt cup, more soil was added. Watered. |
 |
| This is how much soil I added before put the leaf in with the soil that they already had around their roots. |
 |
| As you can see there are a bunch of new leaves coming out. That is why I decided to trim as many leaves off and give the plant some room to breathe. Also I think it will be fun to share some little African Violets with my friends. Friend plants have been started! |
 |
| Here are the difference between the leaves. The lighter one is from further out on the plant. The darker one is from closer to the plant- thicker and daek. I guess we shall see which creates a better plant. |
 |
| Close-up of more leaves and tiny flowers that will be coming out! |
 |
| The finished leaves all put to bed in their own holes. There are two cells that have 2 leaves in them. I am not sure how many will turn into plants. I was happy last time that 3 out of the 4 that I planted are still alive so I am hope 10 out of 14 this time. We shall see. This was a fun experience. I will have to update everyone as they grow! |
Thanks again for visiting the blog. Let me know what you are growing or if there is something I need to know about African Violets. Make sure that you go check out
Jo's Country Junction


No comments:
Post a Comment