Well good morning.... I would invite you in for tea but I am out so I had coffee early this morning. I really needed the caffeine as I was dragging- it was cool in the mid 50's and foggy. I was under a quilt so what can I say I know how the bear feels when he is just coming out of hibernation!
Once again it is Try-It Tuesday, I have no idea where the week has gone except work! I am still waiting on my bunnies to have the babies! They are due today, the one rabbit always goes 3 days over due date and the other two are first timers with the whole mommy thing! So you know what they say a pot watched does not boil! Remember to go over to
Jo's Country Junction and see what all the ladies are trying over there. Also when you care done visiting Jo's site go check out
Tip Me Tuesday and see all the tips and home-made things folks are busy creating!
So today I am going to actually try sewing with Thangles. I know they have been around awhile, alot of people have used them or are using them. I haven't tried them before, I am too cheap to purchase them especially when I don't know if I will like them or not. I lucked out at the Quilt show this last weekend and got a package that has size 1, 2, 2.5, 3 in there with a pattern to boot..... the price was only a dollar! Score me!!! I am working on graduation quilts and other gifts so I thought I would give them a try.
 |
| This is the packet that I bought for a $1.00! Can you believe it! The picture is upside down but I want it at the beginning of the pictures so you can see what the Thangles look like! Computers! Or in this case humans! LOL I just don't want to download all the pictures again! |
 |
| So I ironed my fabric that I chose. |
 |
Then you put the like sides together. The directions say put the lighter fabric on the top and then the seam allowance will go
to the darker fabric. |
 |
Then you add the Thangle paper and pin it down. If you want your half square triangle to be finished at say a
2" than you cut your fabric 2 1/2 wide. |
 |
| Here I am almost ready to sew. You will be sewing on the dotted lines, and cutting them apart on the solid lines! |
 |
| As you can see my first attempt was wrong! Yes I sewed the solid line! Duh! Well lesson learned. =) I am also using my industrial sewing machine -Sushi is her name. She is fast! So I had to control her! |
 |
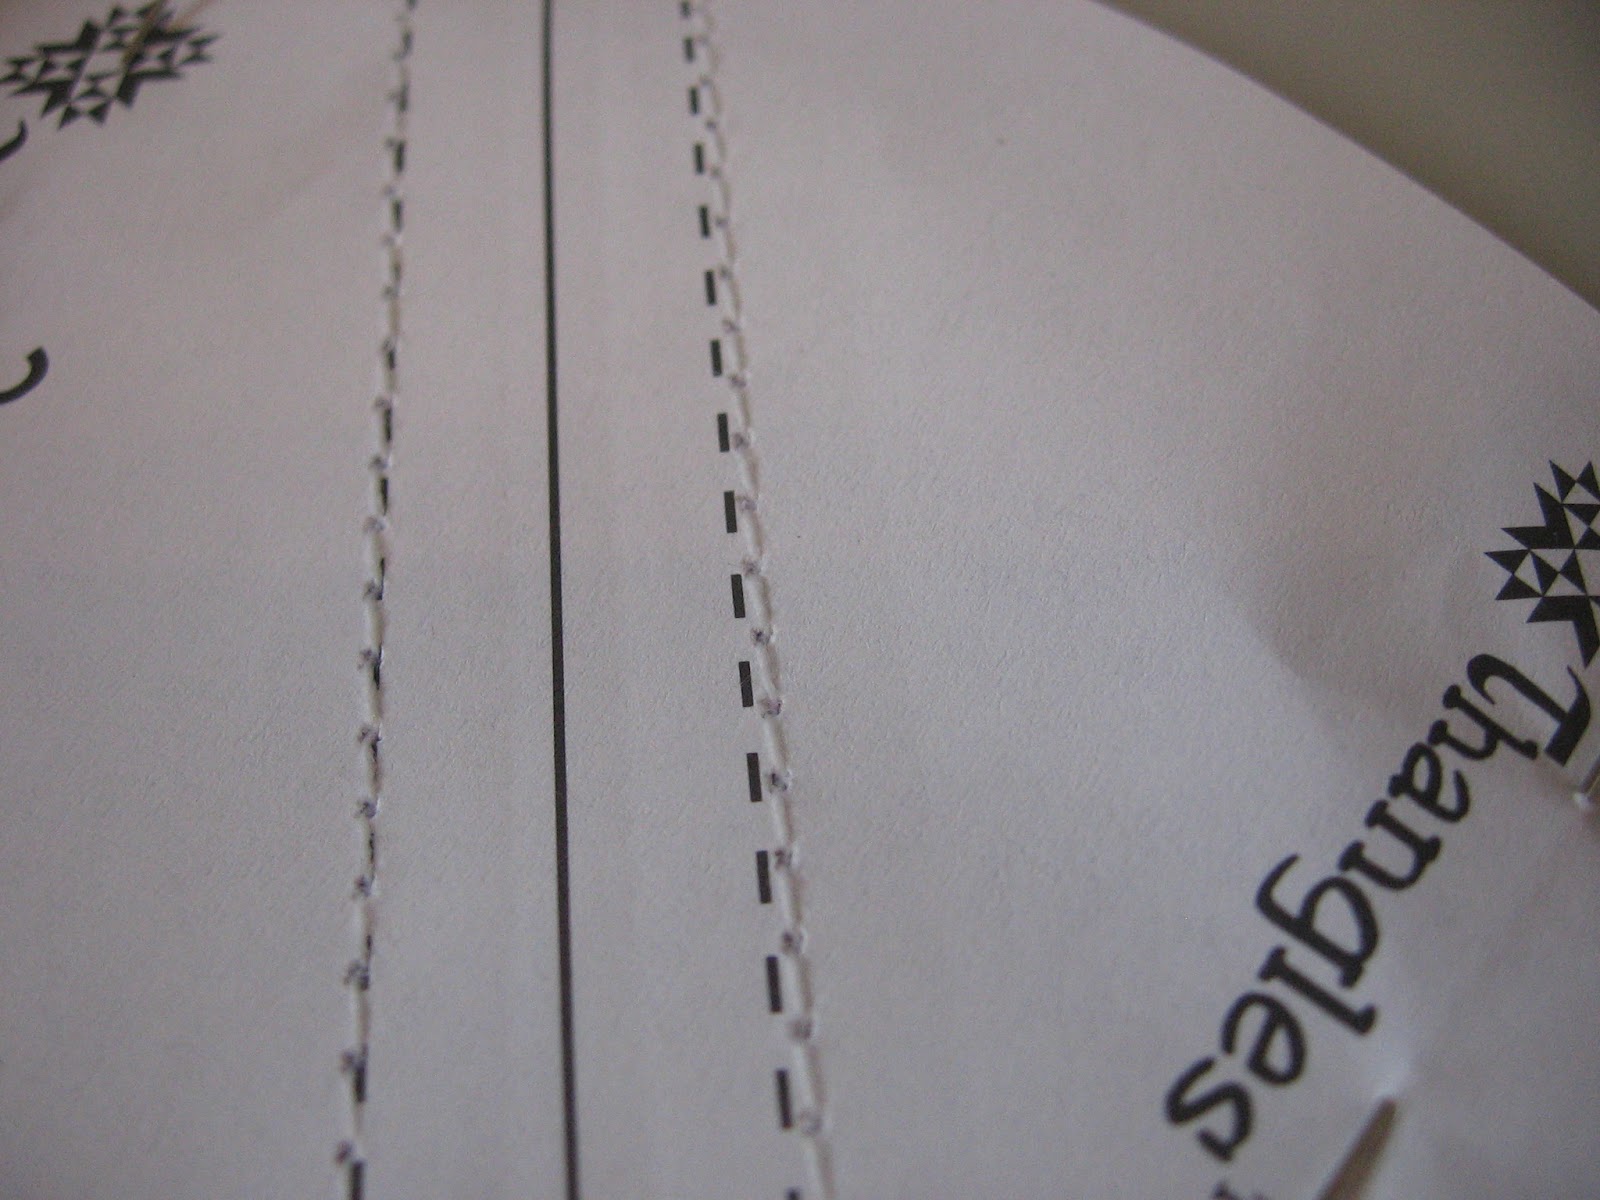
| Here is a close-up to see how I got the needle right on the line and then actually put the needle through the paper before sewing with the foot peddle. Like I said Sushi is fast so I don't want to unthread the needle being I have it centered on the line so well! Remember you should have it centered on the dotted line! |
 |
| So you are sewing on both of the dotted lines on each piece- which will give you 4 half square triangles. You will be cutting between the two lines that you sewed and between the two solid lines that seperates the two Thangle pieces. |
 |
| As you can see I was way better on sewing the one on the left! So yes, following a line will take some getting used too! |
 |
| So I cut on the middle line- which I had sewn as you can see. |
 |
| Here it is as I started ripping them apart. When you sew with the stitches so close together it rips easy. Also I realized after ripping them apart that you should wait til after you press them, then rip apart, that the seams don't stretch. Second lesson I learned! |
 |
| I used the size 2.5 and I will get 4 of these cuties out of each Thangle paper. |
 |
| This one needs to be cut down the middle solid line and then cut on the solid line at the top of the Thangle.. |
 |
| After ripping you have paper to recycle. |
 |
| Before pressing open. |
 |
| After pressing open. You will have to trim off the little point popping out of the bottom of the square. |
 |
Here are the finished project. I am excited that so far this morning I have added 4 half- square triangles to my bin. I have to say they seem alittle putsy, learning a new thing, trying to get the dotted lines sewn right and then cutting them apart. I think if all your fabric is put together, cut out and they are all put together with the paper it would go alot faster to just sew them up, put them in a bin to rip later. Then what I would do is rip them apart while watching a movie.
Thanks so much for stopping by. Feel free to leave me a message. Let me know if you have ever made anything with Thangles. If you would like to buy Thangles I am sure your local quilt store might stock them or I am sure that they would love to order them for you!
Happy Sewing! |